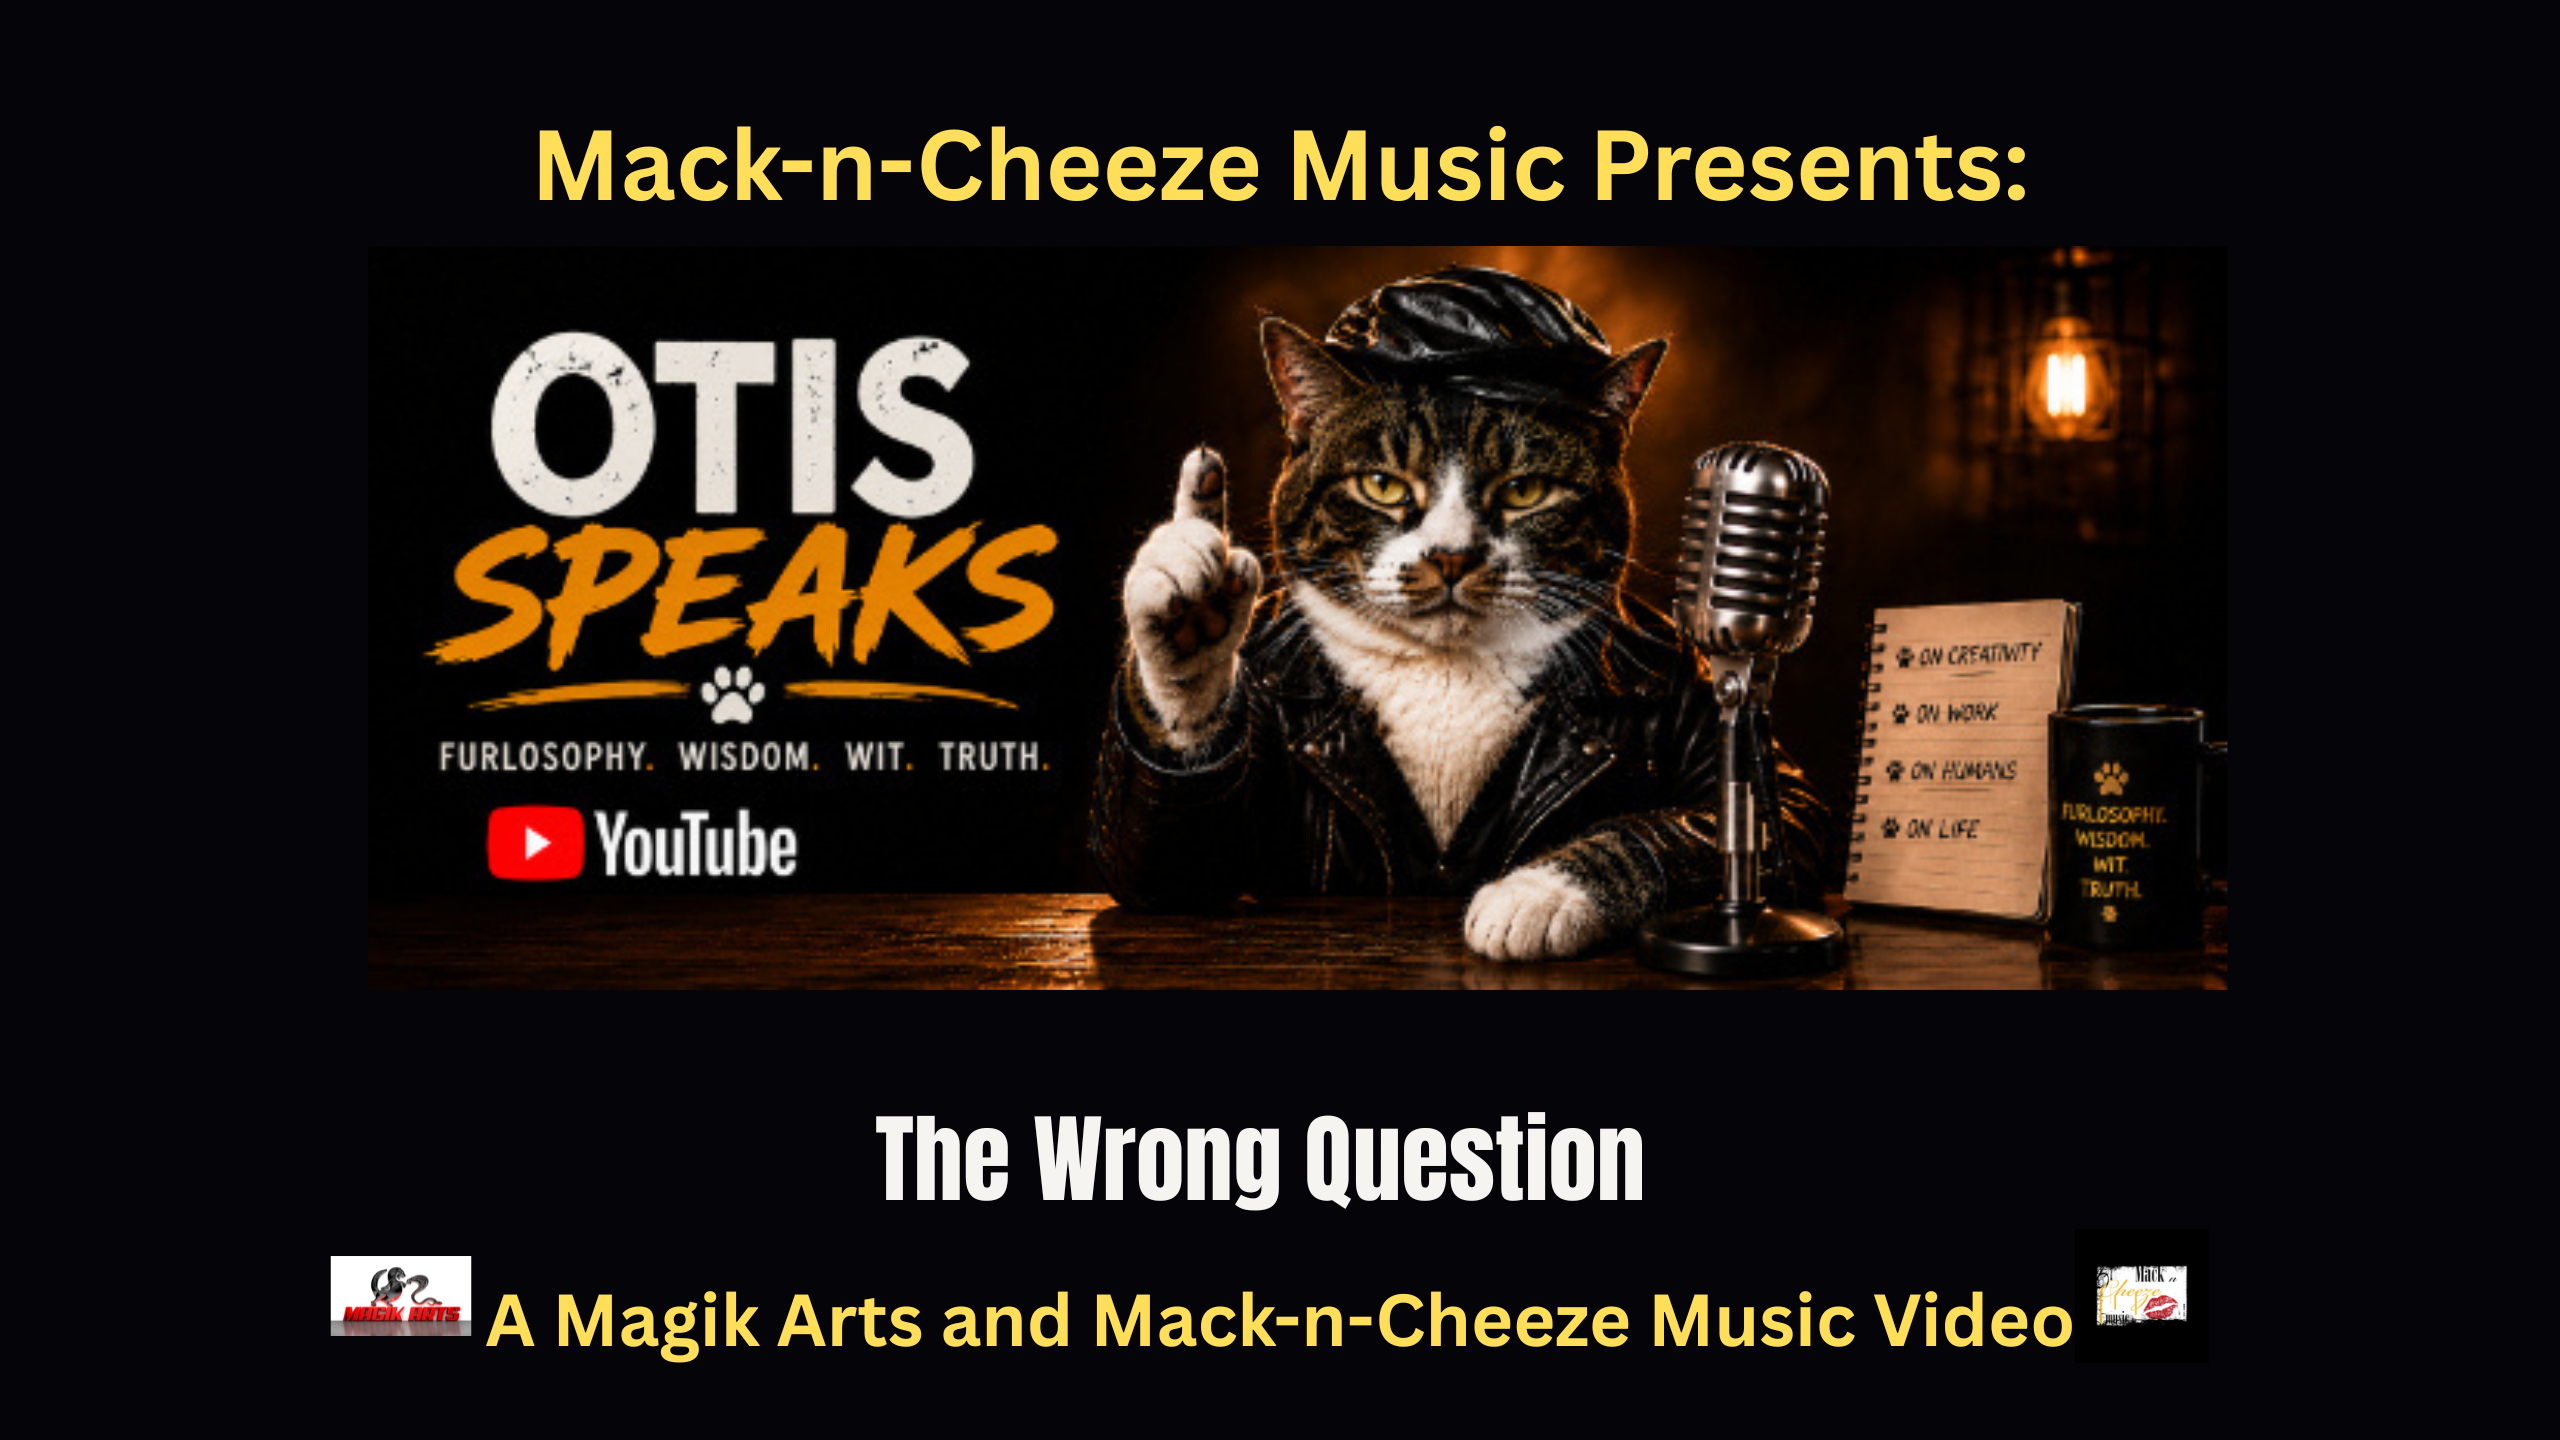
Creating an Otis Speaks video production takes a lot more than giving AI a prompt and waiting for the magic to happen.

This video is based on The Gospel According To Otis: The Wrong Question
And here is the Magik Arts® explanation of how the video was created. Since we are new here, we feel we should explain the process for those who want to know.
Jeff Fried, take it away!!!

Table Of Contents
My Workflow for Creating Otis Speaks Videos
I use one of two workflows to create the Otis Speaks videos. Both begin the same way: with the text Otis will speak and a reference image of him in costume for the topic, supplied by Bryan Dehart, Otis’ creator.
1. Creating Otis’ Voice
I begin by using ElevenLabs to generate the spoken performance with the Otis voice I created there. This often takes several attempts to get the delivery right. I use ElevenLabs’ audio tags to control things such as pacing, emphasis, pauses, and delivery.
One trick I’ve learned is to add a pause at the end of the script. Without it, ElevenLabs sometimes cuts off almost as soon as Otis says the last word, and the ending feels rushed instead of natural.
Once I have a satisfactory performance, the resulting audio becomes the timing foundation for the video.
2. Creating a Consistent Otis
Next, I take the reference image Bryan supplies and replace Otis with the version I created in OpenArt. Without that step, Otis can start looking different every time I generate a new image.
Keeping Otis looking like Otis is one of the harder parts of working with generative AI. Every time you create a new image, something can shift. His face might change, his size can be different, or his clothes suddenly aren’t quite right. Starting with a strong reference image helps keep those changes under control.
3. Developing the Story and Shot List
The next step is brainstorming how to turn the spoken piece into a visual story. I combine Bryan’s ideas with my own and use ChatGPT as a creative collaborator to explore staging, visual jokes, camera angles, pacing, and other possibilities.
From this process, I develop a shooting script that breaks the piece into a series of individual shots. I generally keep each shot within the duration supported by the AI video models I plan to use, typically no more than about 15 seconds.
4. Creating the Blocking Stills
I then create the blocking stills, the key images that establish the composition, characters, setting, lighting, and starting positions for each video shot, and develop the prompts that will be used to animate them. Starting from a carefully constructed still gives the video generator far less to invent on its own, which improves consistency and gives me much more control over the resulting shot.
This is where my two workflows diverge.
In my older workflow, I use a combination of OpenArt and ChatGPT. I generate and edit the blocking stills using both tools and collaborate with ChatGPT on the prompts used for video generation.
More recently, I have been using OpenArt’s Director for most of this process. Director’s main advantages are greater visual consistency between shots and having the project’s images, prompts, audio, and other assets organized in one place. The tradeoff is cost: Director consumes OpenArt credits during the development process, whereas my use of ChatGPT is covered by a fixed subscription.
5. Generating the Video
In the older workflow, I generate the video clips individually using OpenArt’s video-generation tools. Each shot is created and evaluated separately.
With the Director workflow, once the blocking stills and storyboard are locked, Director can generate the complete video while also making its individual generated clips available separately.
Regardless of the workflow, video generation is rarely a one-pass process. Clips often need to be regenerated because of character inconsistencies, continuity problems, unwanted changes to objects or backgrounds, or the inevitable AI hallucination.
Director can make correcting these problems somewhat more expensive because interacting with Director itself also consumes credits. On the other hand, the cost of the Director interaction is generally small compared with the cost of repeatedly generating video clips.
The biggest advantage of Director is that the resulting clips tend to be more consistent in areas such as lighting and color grading, and Director handles the transitions when assembling the final video. With the individual-clip workflow, I have to create those transitions myself during post-production. The advantage of doing so is that I have much more control over the final edit.
6. Editing and Finishing
I use DaVinci Resolve for final editing. When a video has been produced through Director, much of the basic assembly and transition work has already been done. However, I don’t necessarily use Director’s completed render unchanged.
Because Director also provides the individual clips, I can bring those into DaVinci Resolve and replace or overlay sections of Director’s finished video. This is useful when only one portion needs adjustment and also avoids the additional cost of having Director regenerate the entire video.
I do the final audio mix in DaVinci Resolve. Most Otis Speaks videos have Otis talking over music, background sound, or sometimes both. The trick is getting the balance right. You want to hear what is happening around him, but Otis always needs to come through clearly.
The last step is adding the Otis Speaks copyright banner. Once that’s in place, the video is ready to export.
The Two Workflows in Brief
The individual-clip workflow gives me more direct control over every shot, transition, and edit, and lets me use ChatGPT extensively for planning and problem-solving without incurring additional per-interaction costs.
The OpenArt Director workflow provides a more integrated production environment and generally better consistency across shots, particularly in visual style, lighting, and color. It also automates more of the assembly process. The tradeoff is higher credit usage and somewhat less direct control over the finished edit.
These days I end up using both. I’ll use Director to build the video, then take the clips into DaVinci Resolve if I see something I want to change. Sometimes that means replacing a shot. Other times I just want to handle the edit myself.
Can We Help You?
We are grateful you stopped by.

Where does AI fit into your creative process, and where do you still need your own hands on the work?

Leave a comment, share this post, and subscribe to the Otis Speaks YouTube channel and Mack-n-Cheeze Music.
Continue The Journey
The Fire of Inspiration: A Journey into Artistic Genius explores the philosophy of Mack-n-Cheeze Music in greater depth.
Go out and make noise, you were born for this.
Want More Mack-n-Cheeze?
Videos - Bryan At Mackncheeze on YouTube
Podcasts – Bryan At Mackncheeze Apple Podcasts, Fountain, Spotify